Install the Secure Event Connector on your Security Cloud Control Connector Virtual Machine
Before you begin
This is the third of three steps you need to complete in order to install and configure your Secure Event Connector (SEC). If you have not already, complete the following tasks before continuing with this procedure:
Procedure
Step 1 | Log in to Security Cloud Control. |
Step 2 | In the left pane, . |
Step 3 | Select the Security Cloud Control Connector that you installed using the procedure in the prerequisites above. In the Secure Connectors table, it will be displayed as Secure Event Connector. |
Step 4 | Click Deploy an On-Premises Secure Event Connector in the Actions pane on the right. |
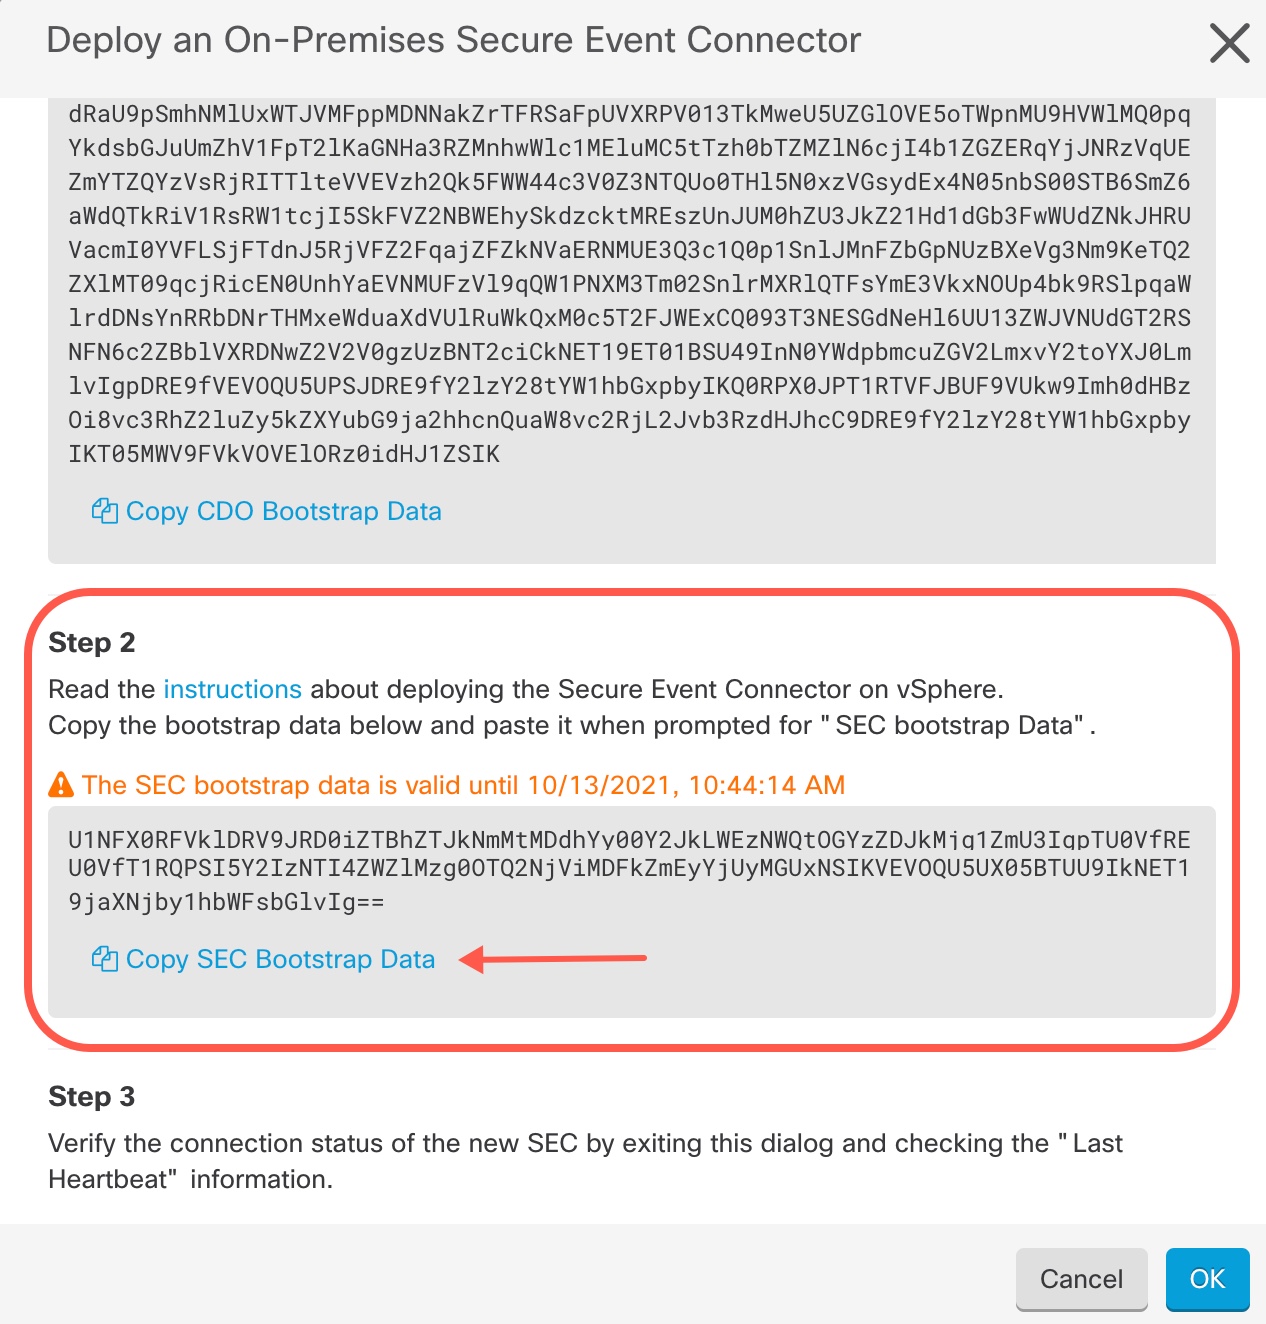
Step 5 | In step 2 of the wizard, click the link to
Copy SEC Bootstrap Data. |
Step 6 | Connect to the Secure Connector using SSH and log in as the Security Cloud Control user. |
Step 7 | Once logged in, switch to the sdc user. When prompted for a password, enter the password for the "Security Cloud Control" user. Here is an example of those commands: |
Step 8 | At the prompt, run the sec.sh setup script: |
Step 9 | At the end of the prompt, paste the bootstrap data you copied in step 4 and press Enter. After the SEC is onboarded, the sec.sh runs a script to check on the health
of the SEC. If all the health checks are "green," the health check sends a
sample event to the Event Log. The sample event shows up in the Event Log as
a policy named "sec-health-check." If you receive a message that the registration failed or that the SEC onboarding failed, go to Troubleshooting Secure Event Connector Onboarding Failures. If you receive the success message, click Done in the Deploy an ON-Premise Secure Event Connector dialog box.You have finished installing an SEC on a your VM image. |

